


Traditional data centers, built on siloed hardware components for compute, storage, and networking,...
Basic Schedule and Holiday Management
Updating Holidays or Schedules Manually
To manage schedules in Webex Control Hub, first login to https://admin.webex.com/.
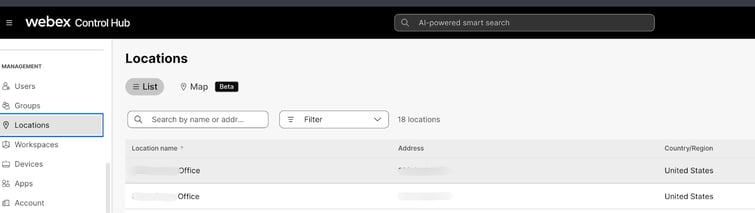
- Navigate to Locations, select the location with the schedule you'd like to update.
- Next,Select the Calling Tab, then Schedules >
.png?width=518&height=529&name=Image%202%20blurred%20(2).png)
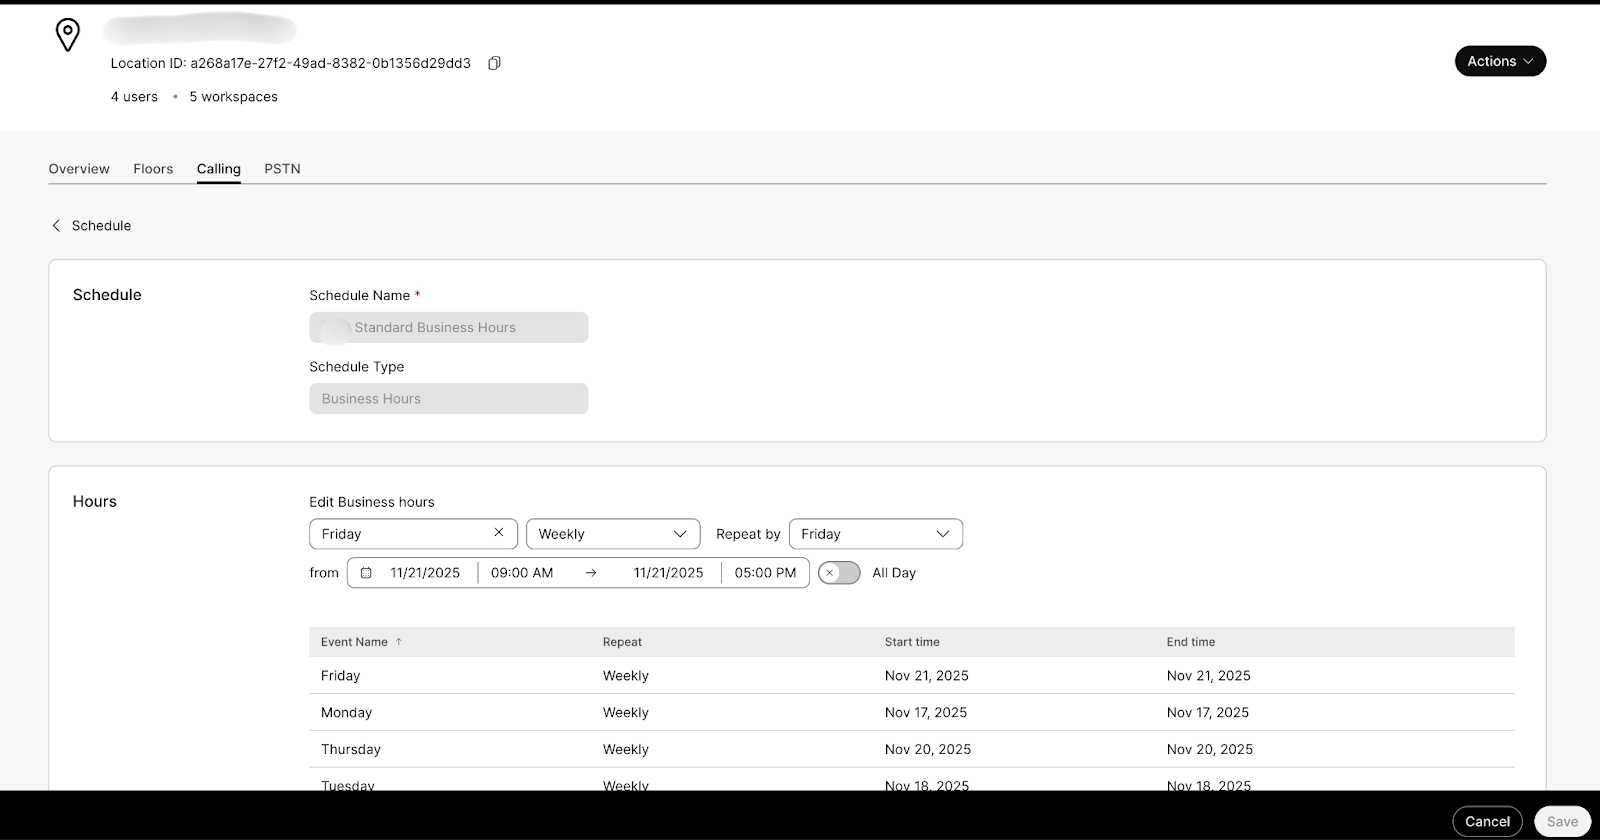
- Here, you can select the Pencil icon to edit existing schedules or "Add Schedule" to add a new Schedule specific to this location.

- Make the desired updates and click save to save the schedule.
Bulk Managing Schedules and Holidays
Updating Holidays in Bulk
To Manage Bulk Manage Schedules in Webex Control Hub, first login to: https://admin.webex.com/.
- Navigate to Locations, select a location (it doesn't matter which location you choose).
.png?width=1600&height=453&name=image%205%20blurred%20(1).png)
- Next, Select the Calling Tab, then Schedules >
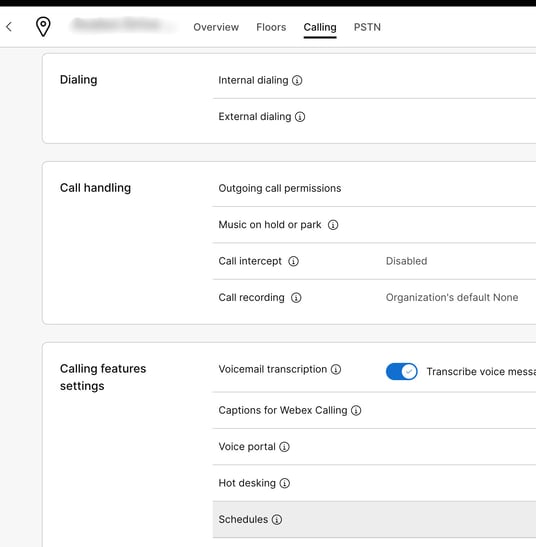
- Select the Bulk manage button
.png?width=1600&height=451&name=iamge%207%20blurred%20(1).png)
- Select the location drop down and select "All Locations", then Download Data
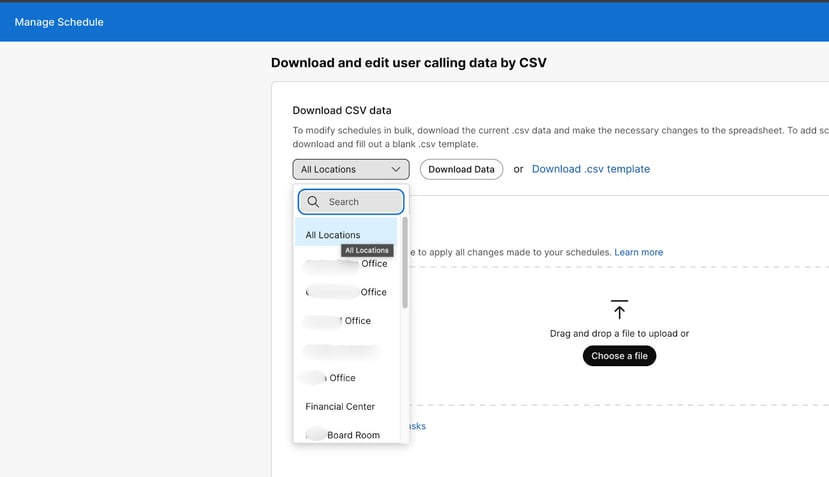
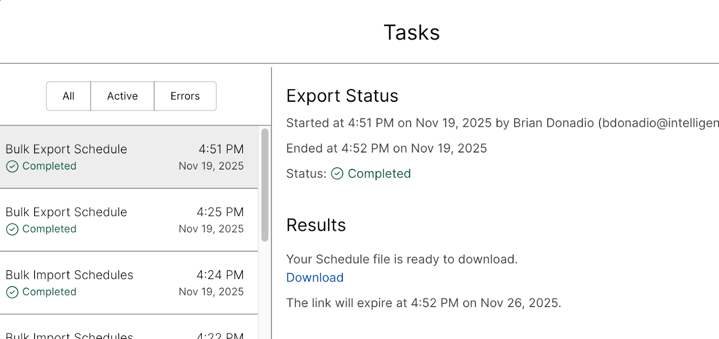
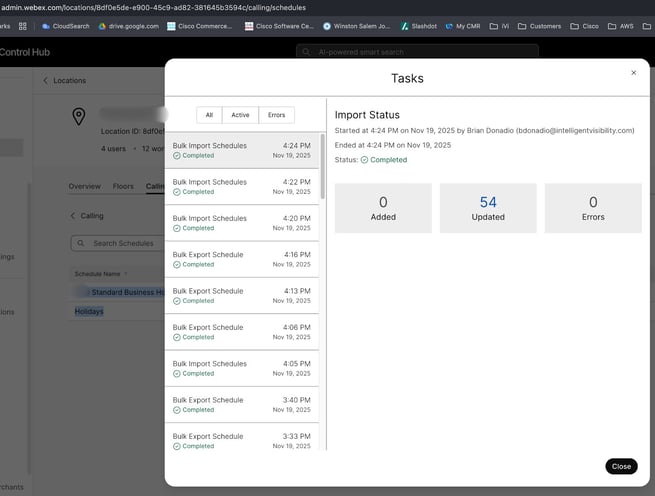
- Then, go to the Tasks Page to download the export .csv file

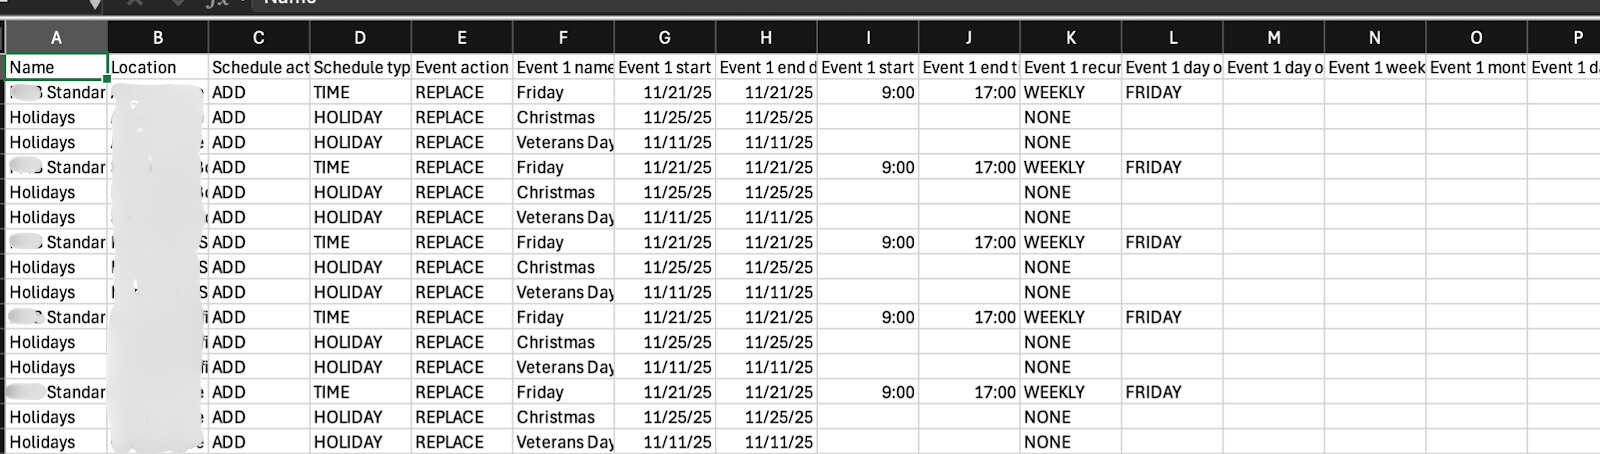
- Now, you can open the .csv file in your favorite CSV file editor. In the CSV, you will see all schedules that are in your Webex Organization, across all locations. This includes both Times Schedules and Holiday Schedules.
Be very careful editing and making bulk updates, as they can affect multiple sites.
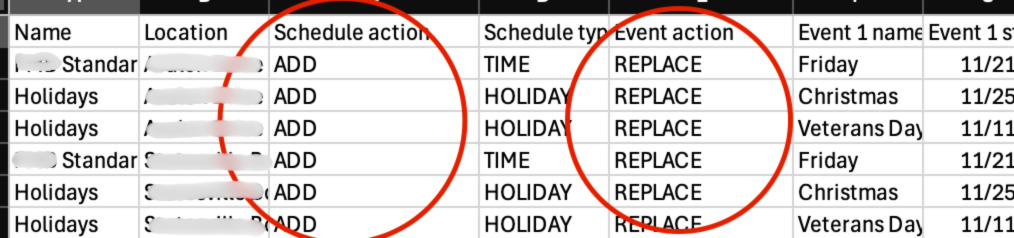
- Valid Schedule Actions are ADD and REMOVE.
- Valid Event Actions are ADD, REMOVE, and REPLACE
- To make updates to existing schedules, like holidays for an upcoming year, you will want to fill "Schedule action" as ADD and "Event Action" as REPLACE. Most likely for all Rows in the sheet to avoid accidentally creating duplicate schedules
- Update Any dates and times on schedules that you'd like to update, then SAVE the CSV.
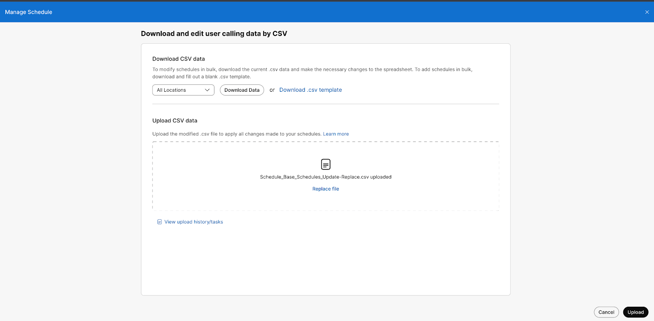
- Go back to the Schedule Bulk Manage page and upload your CSV.
- Congrats! You have updated your schedules! Validate things went ok by spot checking in schedules under specific Location>Schedules in the gui or export the schedules in CSV to review in bulk.
SOURCE Webex Control Hub Managing Schedules Article: https://help.webex.com/en-us/article/bx6j0h/Create-schedules-in-Control-Hub#prepare-your-csv